

Santa Oyster Ornament DIY
Instructions
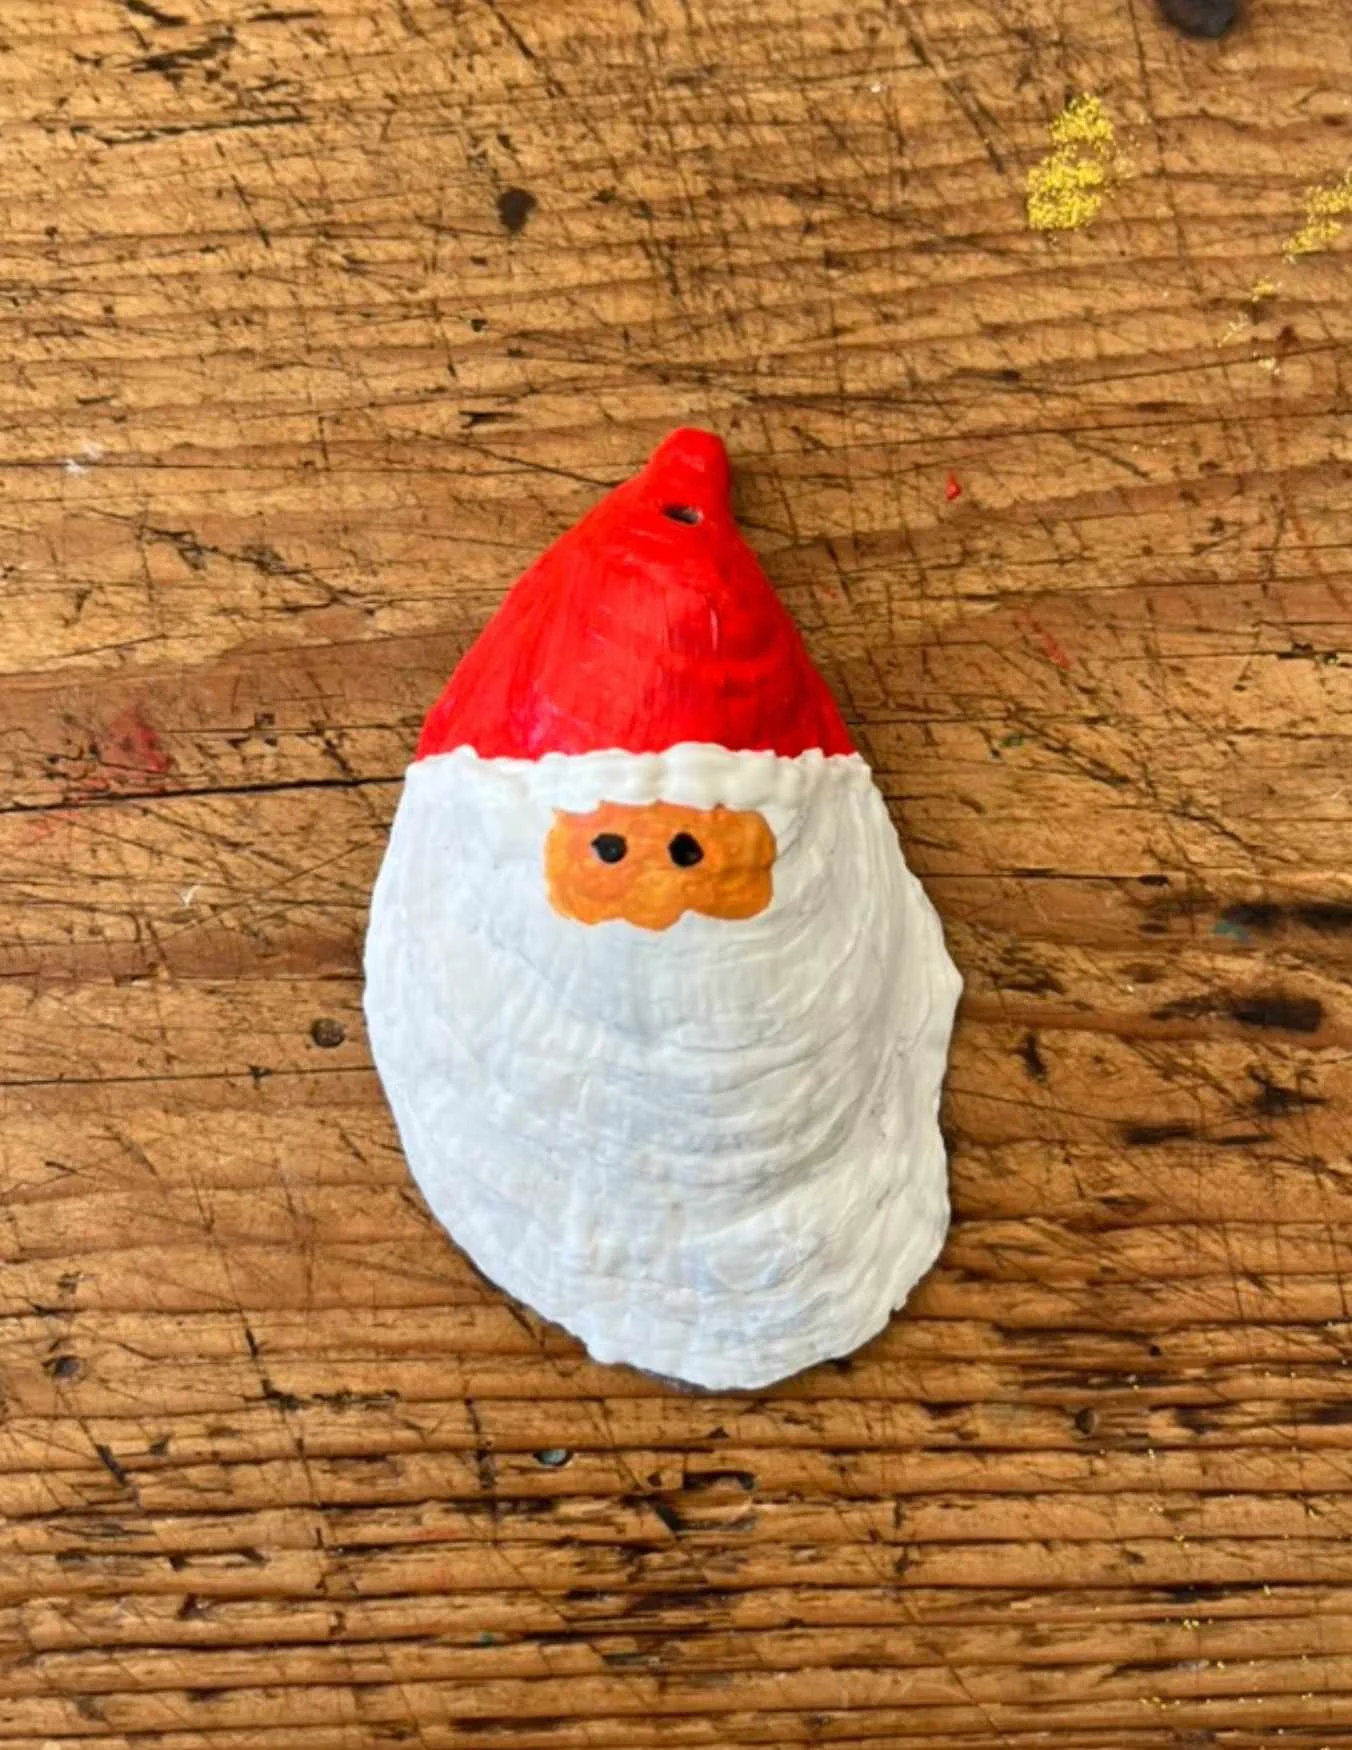
Step 1:
Use the larger brush to paint Santa’s hat. I usually start about ¾ of the way up, but begin wherever you like.
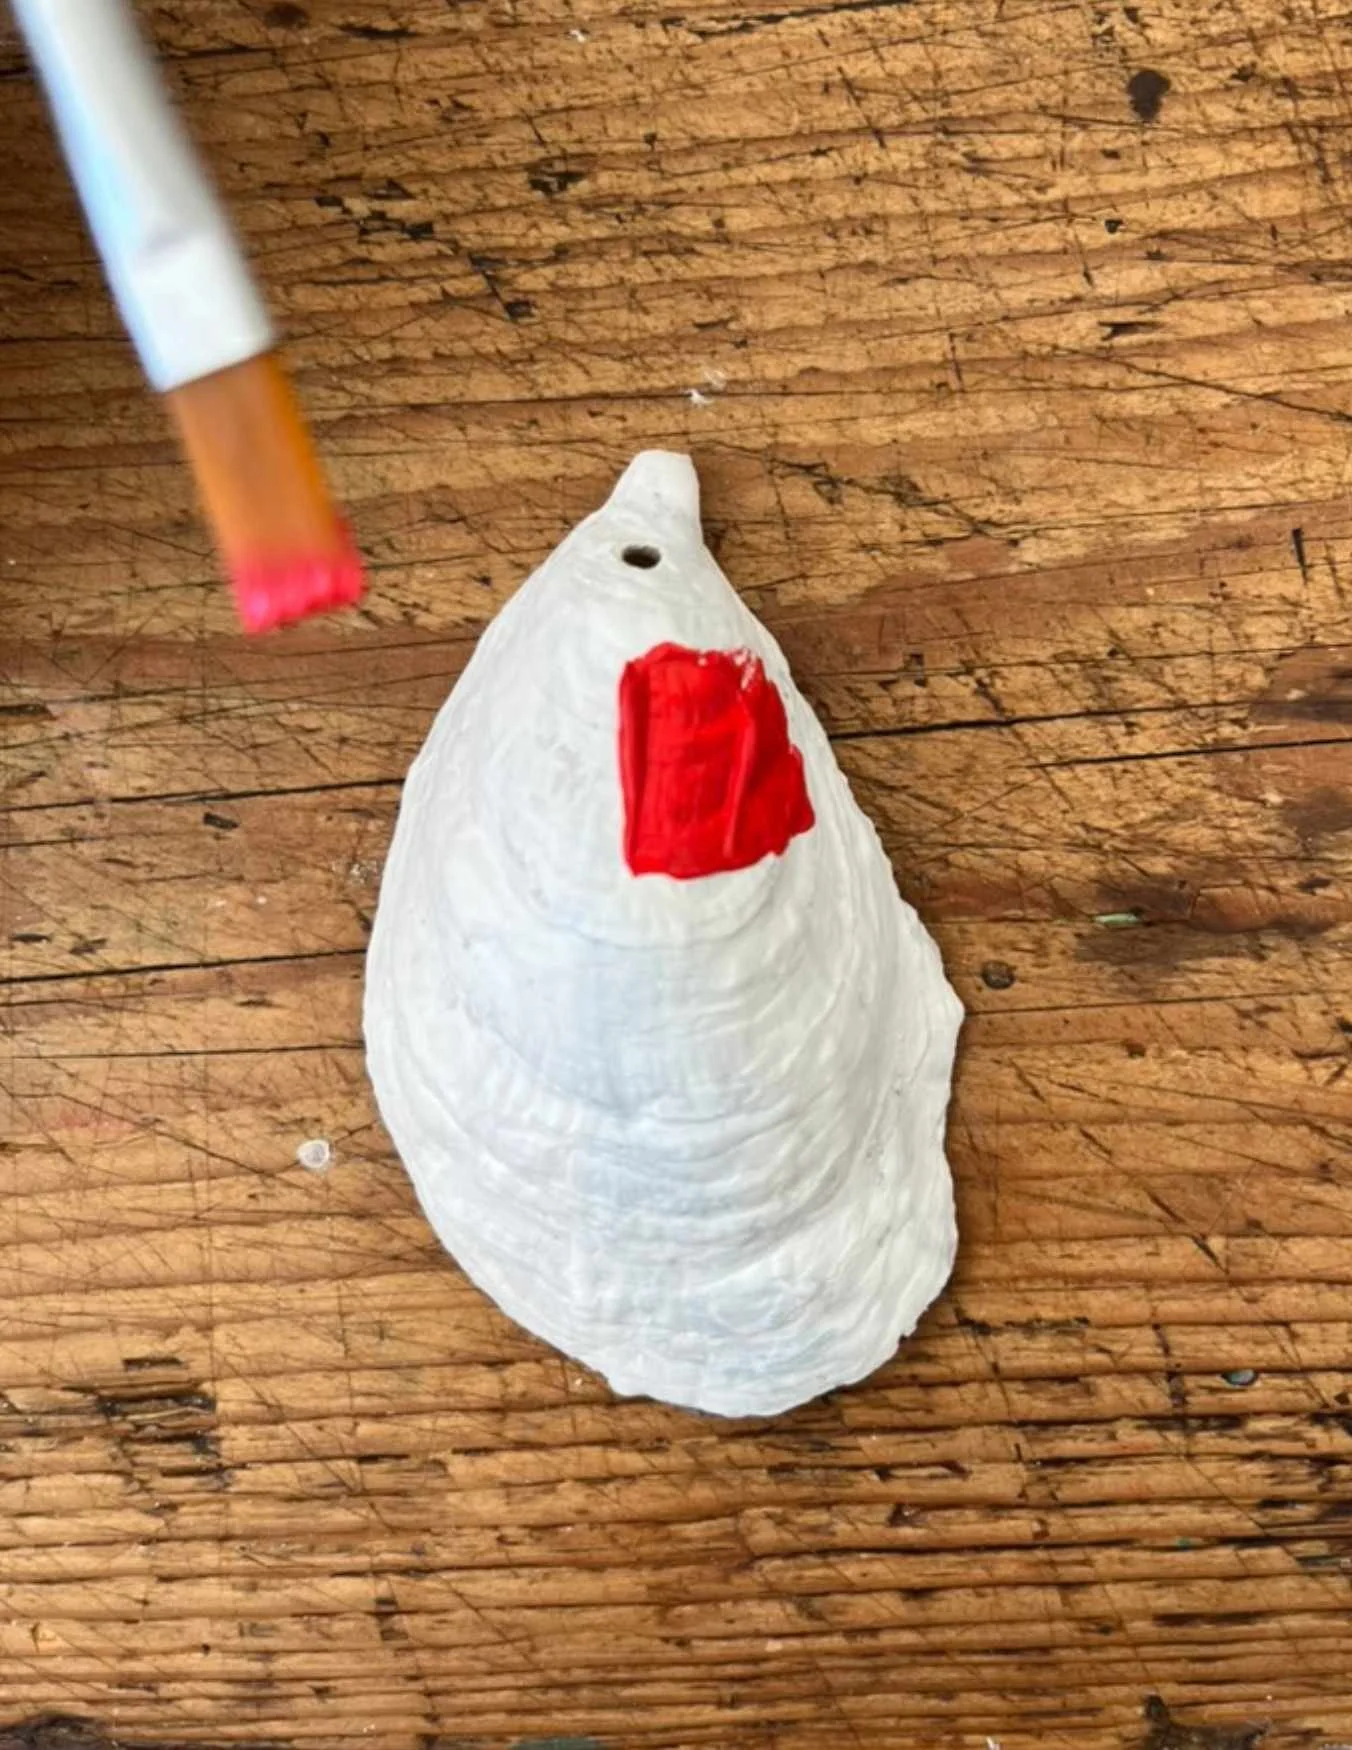
Step 2:
With the small-tip brush, outline Santa’s face by drawing three “U-shaped” bumps under the hat.
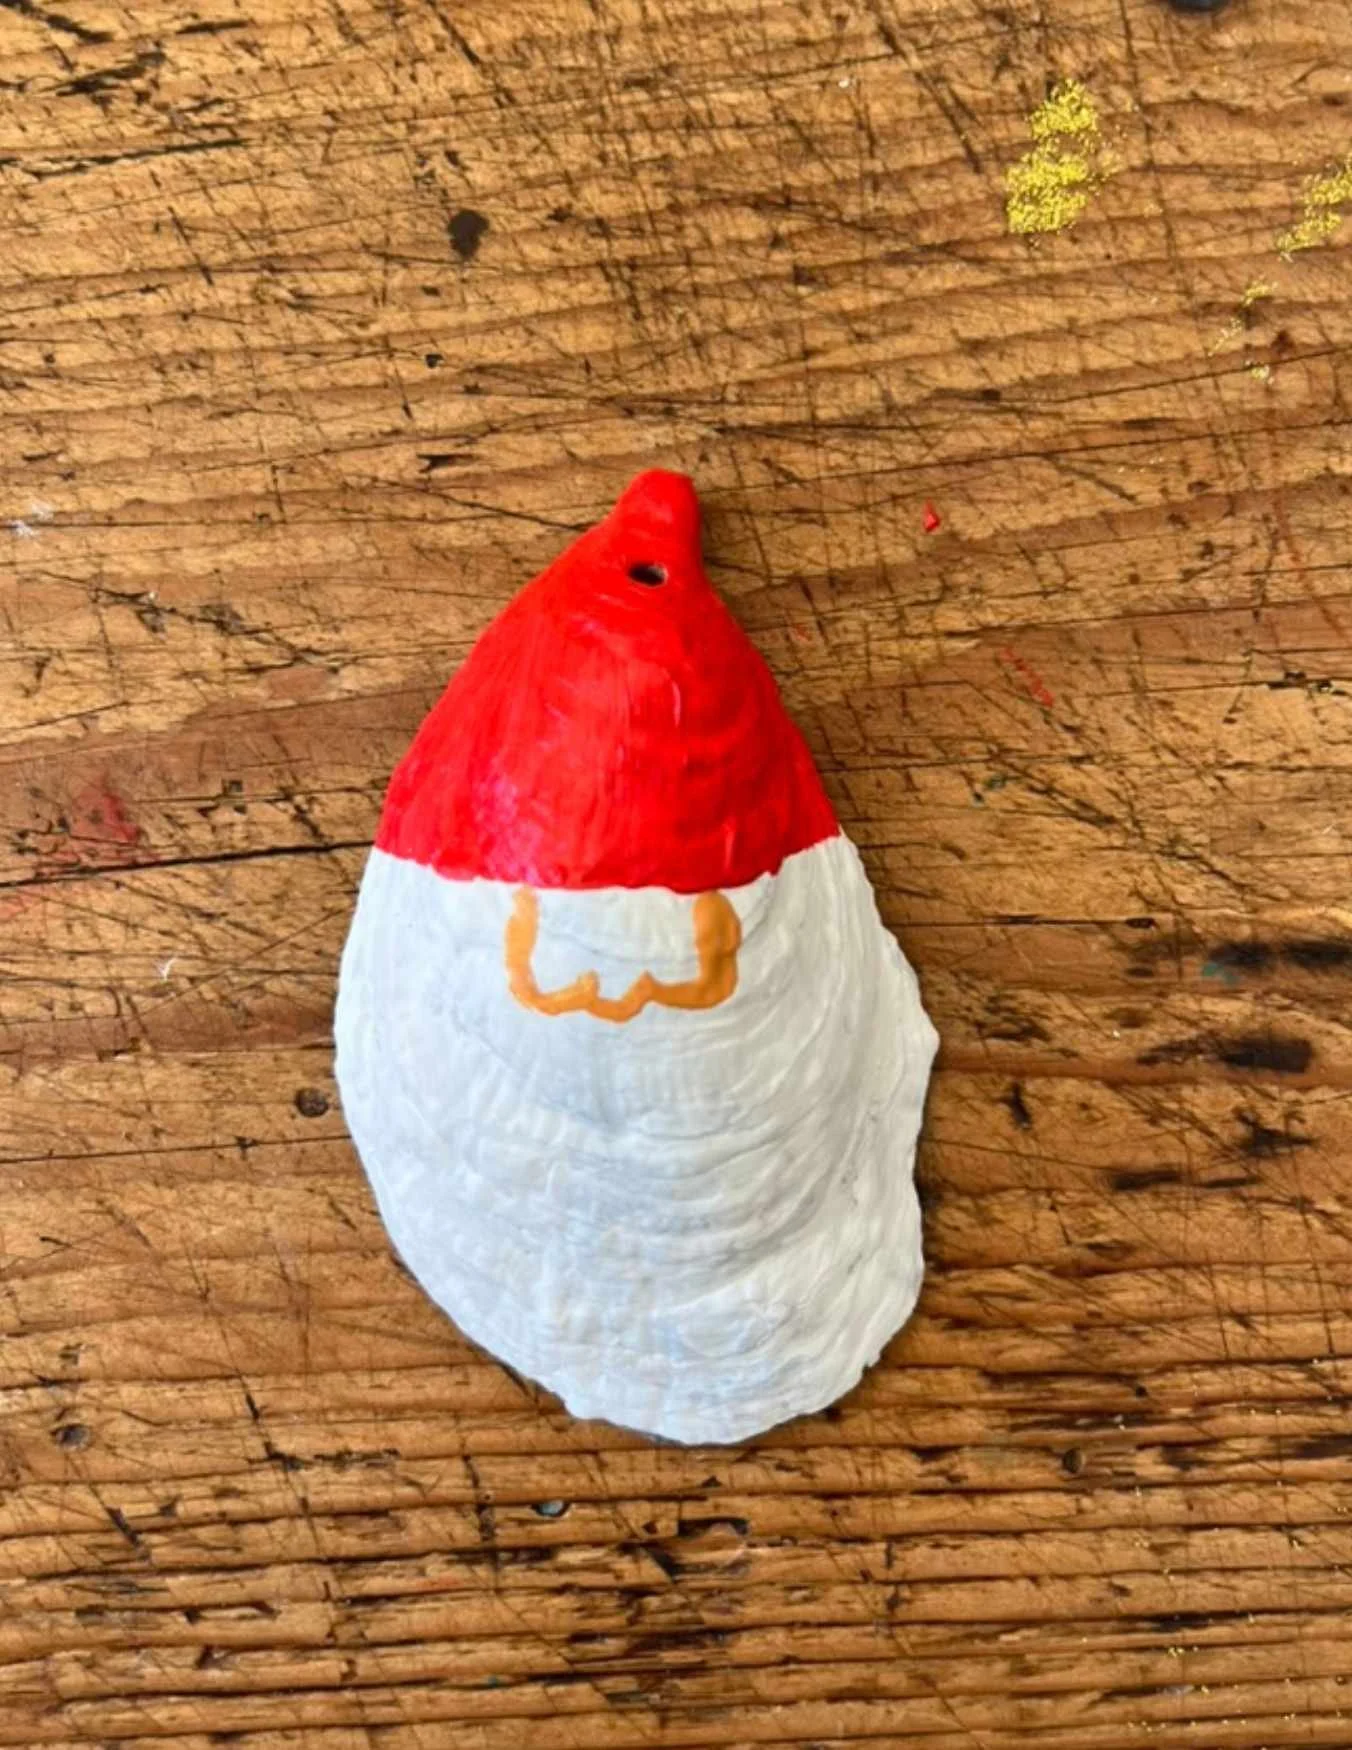
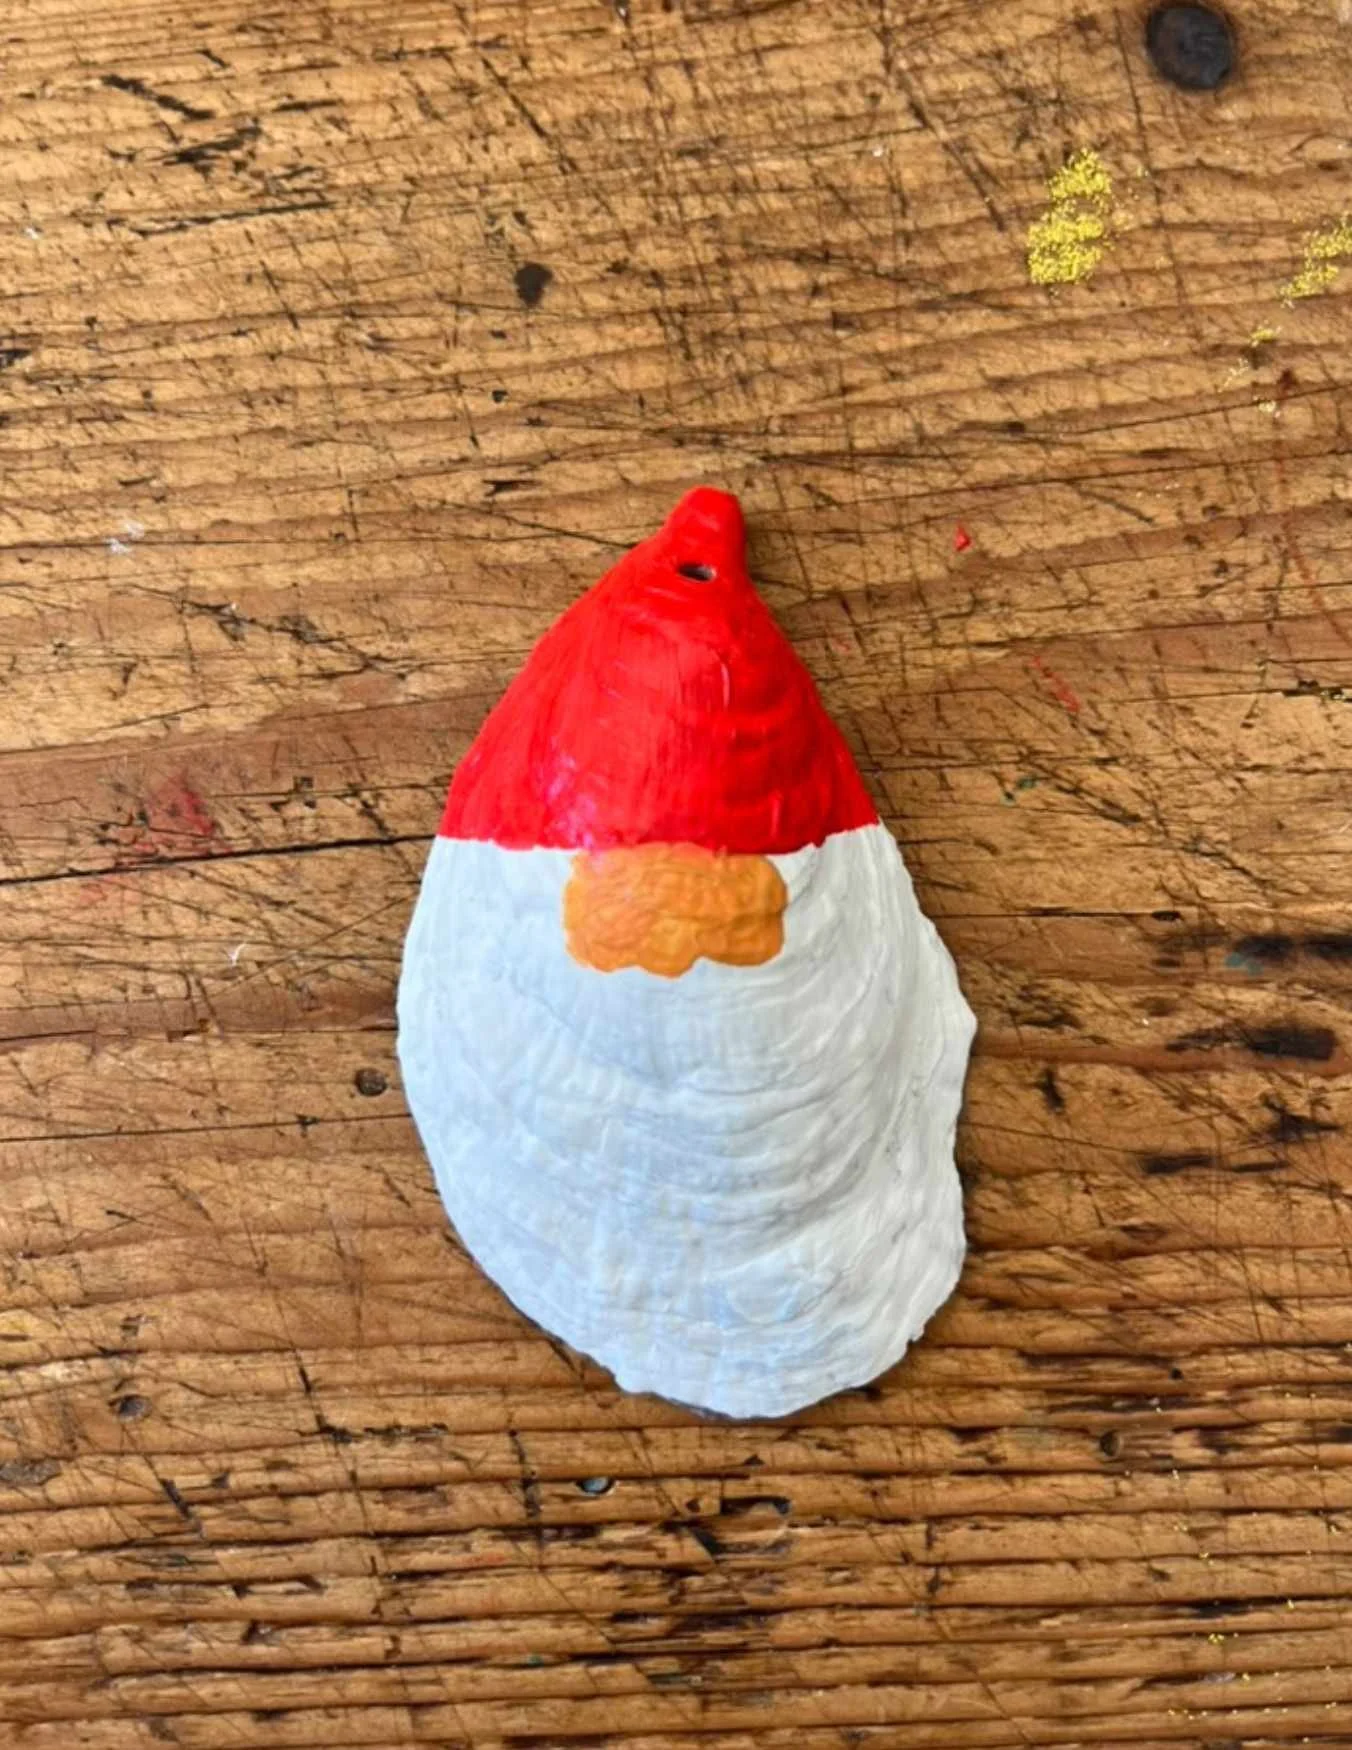
Step 3:
Fill in his face. Don’t worry if some red gets in—add another layer later or leave it for a windburned North Pole look.
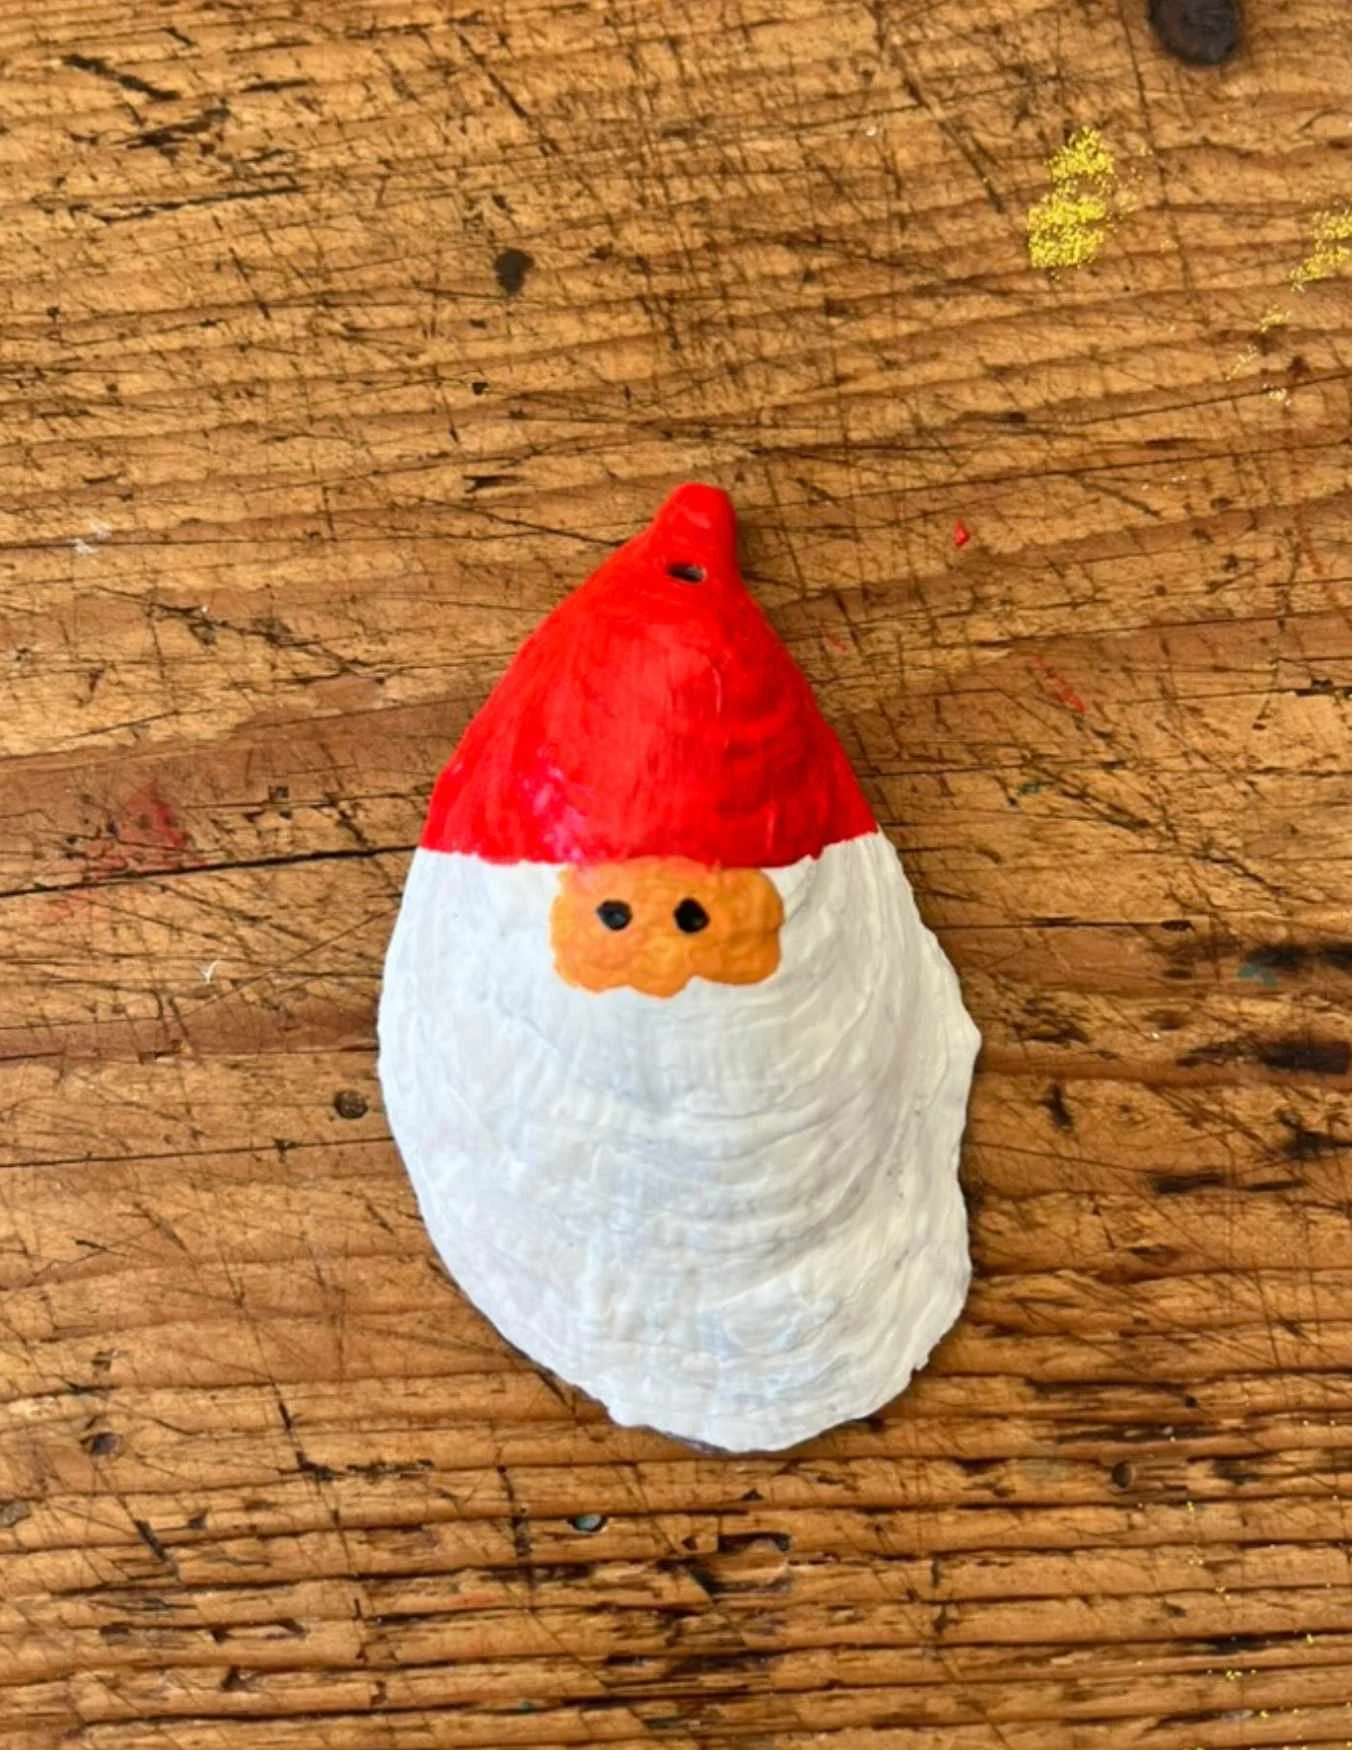
Step 4:
Using the small brush again, paint Santa’s eyes.
Step 5:
Dip the large flat brush into white paint and dab along the hat line. If the red is still wet, wipe off the brush whenever it picks up color before reapplying white.
Step 6:
Repeat the dabbing if you want a thicker, fluffier trim. Remember—dab, don’t brush.
Step 7:
You can paint the beard white first or skip straight to the puffy paint. I go straight to puffy paint so I can finish everything in one go without waiting for layers to dry.

Step 8:
Using the large brush, dab on the puffy paint to add texture to Santa’s beard.
Step 9:
Let Santa dry for a couple of hours, then attach the yellow rope to turn him into an ornament.

Notes on Puffy Paint
The puffy paint provided in the kit is homemade in a small kitchen on Isle of Hope in Savannah, Georgia. Stir it well before using. Adding a bit of white acrylic paint can thicken it nicely. You can also make your own using this recipe. IT IS SO MUCH FUN.